Breakthrough in science and technology has made a lot of things so simple to achieve. Amongst this is farming. With a lot of mechanized farming methods introduced and high yielding plants on the increase, farmers can now work less and get more results in terms of their products output. One such innovation is the introduction of the grow light to assist in the way seedlings are grown.
Grow lights are made use of when the sunlight is not enough to help the natural growth of plants. In other words, a grow light is an artificial light that functions as artificial sunlight to help the growth of plants. There are different types of grow light available out there and you can choose based on your budget and need.
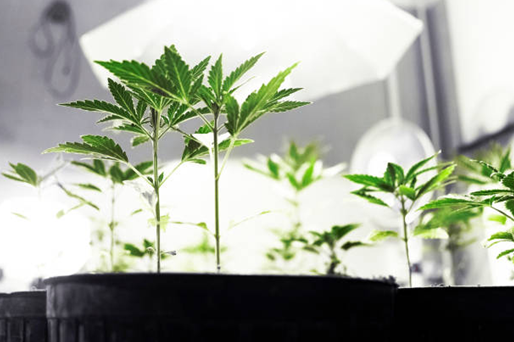
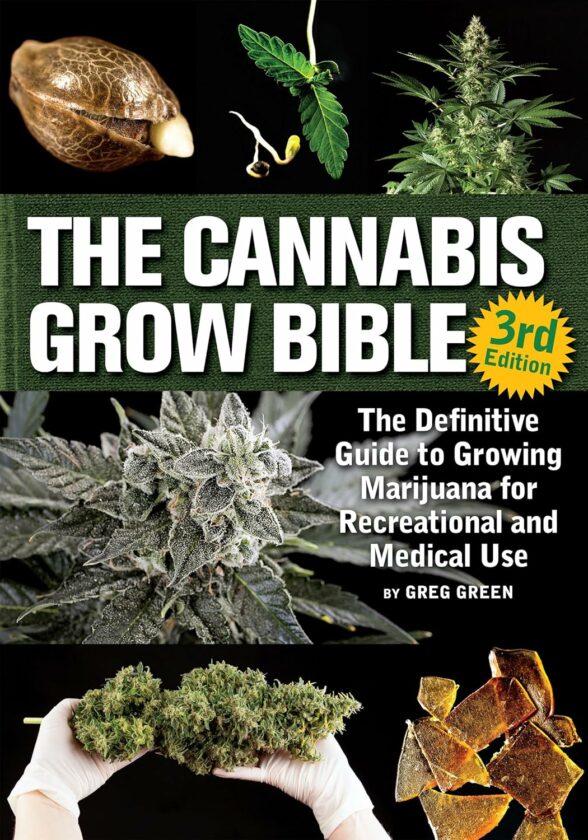
Majorly, we have four types of grow light namely; Highly Intensity Discharge ( HID), Plasma, Light Emitting Diode ( LED) and Fluorescent. All these are available at your disposal if you are considering indoor gardening. Since sunlight might not penetrate indoor to give enough light to your indoor plants, the grow lights become a worthy alternative.
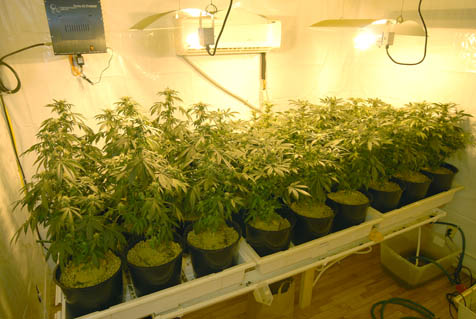
Due to the nature of the setup, a common mistake has been observed in the setting up of the ventilation for the air-cooled grow light. This common mistake is that the installers end up sending just a stream of air through the reflectors thus increasing the temperature as air passes the reflector. The implication is that the last reflector ends up receiving hot air that is not needed and inefficient to even cool the lamp.
Do not be scared, there is a solution to this. All you need do is to introduce central cooling and the problem s resolved. The central cooling is such that there are two vents: One that receives the air and the other that sends. Other awesome tips to follow while setting up your air-cooled grow light include but not limited to the followings.
Do a Weekly Cleaning of the Reflector Glass
Keeping the glass on your reflector clean should be a task you should carry out always. It doesn’t matter if you are using an intake filter. Just make sure you add it to your weekly chores and only do these when your lights are not turned on.
Use Only Insulating Ducts
The essence of going for a cooled one is to avoid the excessive heat that is associated with other types of grow lights and other lamp sources. Insulated ducting is essential here because it absorbs the heat and helps channel it from your room without the possibility of it leaking back. The use of the insulated ducting should be encouraged and perhaps you haven’t considered it before, now you know why it’s important for you to use it.
Blow, Rather than Suck
It is advised that your air-cooled grow light to be set up in such a way that the fan faces the reflectors directly so that the air is blowing through it. Sucking the hot air can result in damage that will shorten their lifespan. Blowing it allow the air leaks to escape directly into your garden as against sucking that can channel unfiltered air into your ventilation system.
Do not Over Connect the Reflectors.
Experts advised the ideal number of reflectors to connect should range from two 6-inch reflectors to four 8-inch reflectors in each series. Do not over connect the reflectors as it might have a negative consequence which is that the last light may end up not receiving light at all and as such won’t cool.
If carefully followed, setting up your air-cooled growing light shouldn’t be a problem at all.